
With clean Monday being just around the corner, we are all preparing for ways to celebrate. Whether you celebrate clean Monday out in nature with a picnic, or at home with family, one of the best family-fun activities to do is to make your own kite! Making your own kite is especially helpful when trying to keep the young ones occupied, so read on, and learn how you can make your own kite for clean Monday!
What you will need:
2 pieces of balsa wood (with one being about ¼ smaller and keep the leftover smaller piece)
1 plastic table cloth
Sticky tape
A ball of thick string
A utility knife
A stapler
Scissors
Ribbon for decoration
Directions:
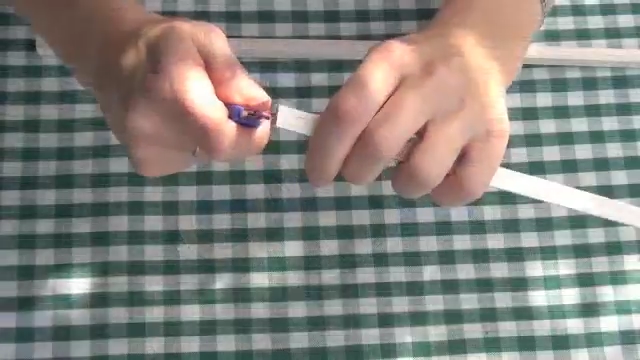
Make an indent with your knife at the end of each piece of balsa wood by cutting into the face, creating notches. Do this to both pieces of wood.
Then, taking the glue, apply glue to the areas of each piece of wood where the two pieces will meet as a cross.
Make sure your shorter piece of wood is the one laying horizontally on top of the other piece of wood, about 3/4ths of the way up from the laying piece.
Next, bind up the pieces of wood together with your string by tying them together from where they meet.
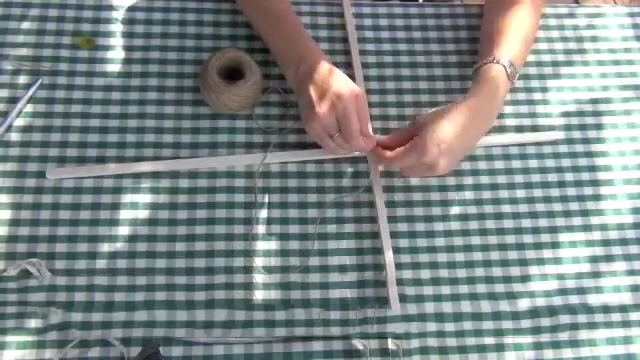
Then, without detaching your string, feed your string around the cross of wood you have made, by feeding it through the notches you made at the end of each piece of wood, creating a diamond shaped kite.
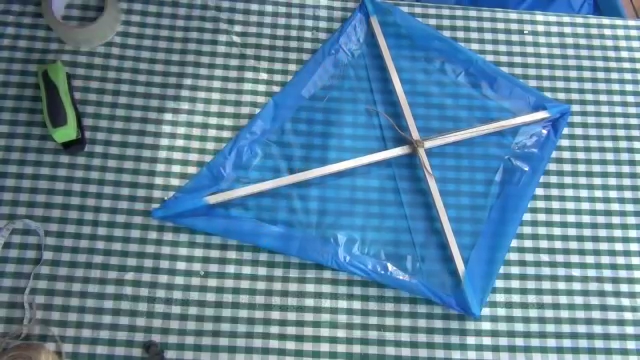
Once you have fed the string through all four ends, tie it off and tightly in the centre of the kite. You have now completed making your kite frame!
Now, take your plastic table cloth, spread it out, and place your wooden kite frame on top of the table cloth.
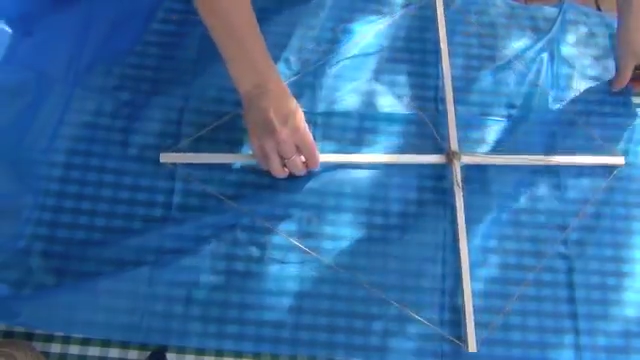
Next, measuring a distance of 2.5 centimetres from the edge of the frame outwards, trace the plastic table cloth around the structure of the kite frame, and cut.
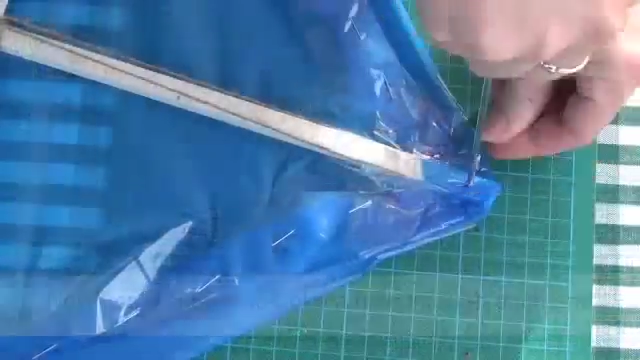
Tape and staple the flaps all the way around the edge of your frame. Strengthen both front and back of each end for extra security with lots of sticky tape.
Next, using something sharp like a skewer, poke a hole through the top and bottom end of the kite.
Using a needle and thread, feed the thread through the holes from bottom of the kite to top. Doing this will create your strong centre string, better known as the bridle.
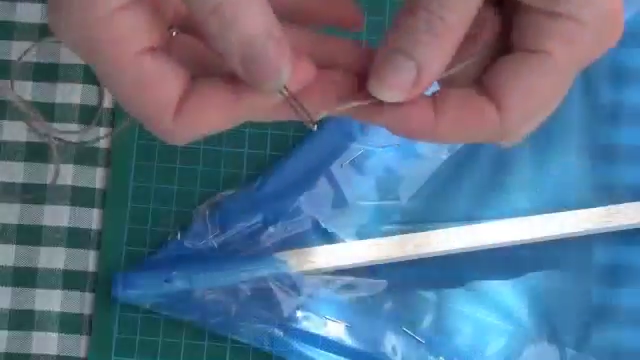
Tie well at both ends, leaving a tail at the bottom. Now, you can take your flying string and tie it to the center, or the bridle.
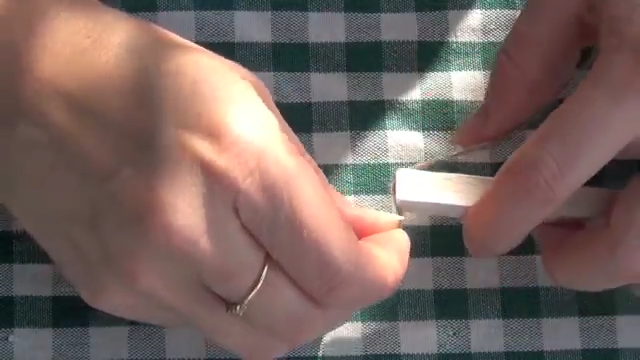
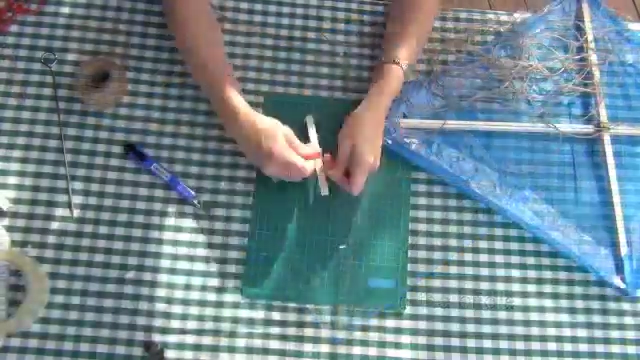
With your spare piece of wood, create your handle by tying the end of the string to the smaller piece of wood.
Lastly, take your decorative ribbon, and tie is along the tail in any which way you want in order to make your own unique design. For more of a design, you can also tie pieces of your ribbon to the ends of the kites frame.
Now you’re all done and ready to fly!


