
Make six creative Christmas constructions with your children!
1. Christmas Stockings
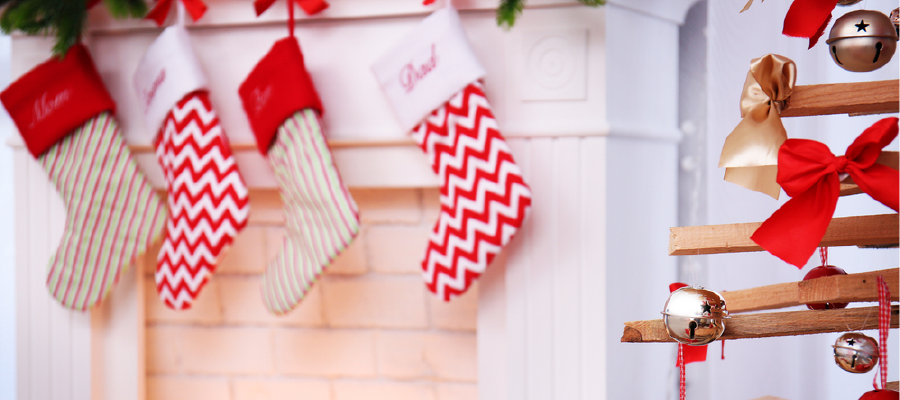
Santa is getting ready to visit which means it’s time to hang our Christmas stockings by the fireplace for our gifts. Why not make your own stockings – it’s really easy! All you need is some different coloured felt measuring approximately 0.50 x 0.50 for each stocking. Pencil the shape of two socks on the felt and cut them out with scissors. At this point, you can either leave them plain or sew on decorative buttons, patterns with different colour thread, etc. Sew the edges of the two sides of stocking together with a different colour thread (about ½ cm from the edges). Leave the top of the stocking open so that it can be filled with gifts. Sew a loop to the top corner so it can hang. And then fill your stockings with gifts!
2. Festive ribbons
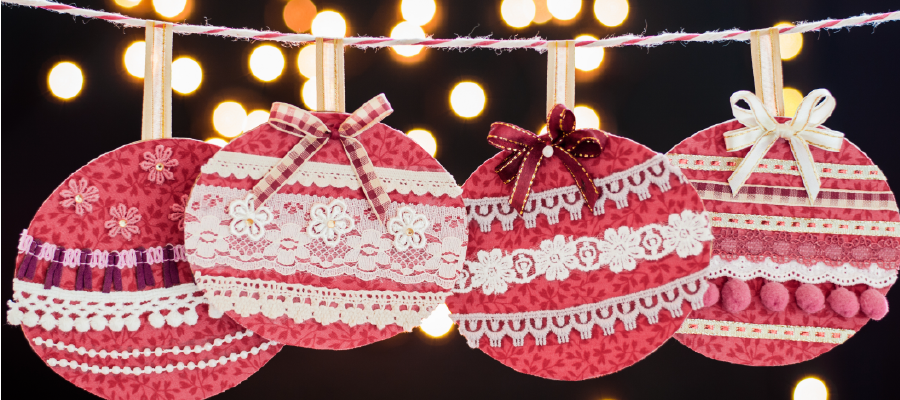
Buy some felt in different colours, for e.g. white to make snowmen, yellow for stars, green for trees, etc. Stencil the shape you want on the felt and then cut it out. Use the cut out as the stencil for cutting out identical shapes on the remaining felt. Repeat as many times as you want depending on the length of your ribbon. The ribbon can be created in 2 ways: (a) stringing the cut outs with thick thread, or (b) by pegging the cut outs on the string using wooden pegs.
3. Paper snowflakes
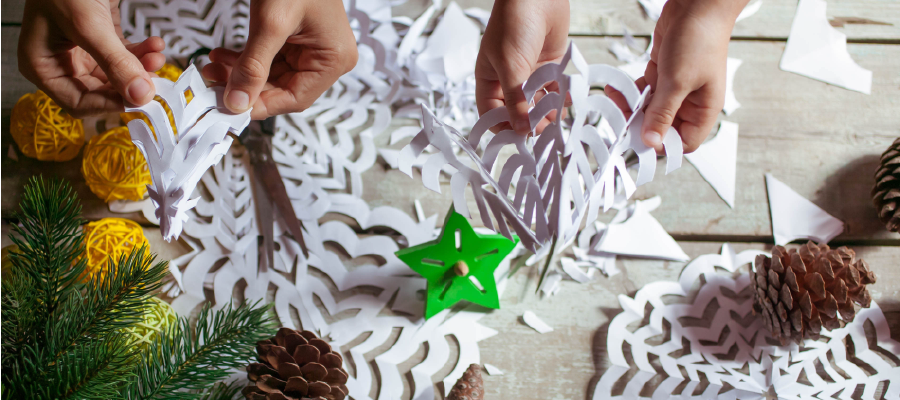
Christmas means winter and snow! So let's make some snowflakes to decorate our tree or house. We begin with a square of white paper. Fold in the middle diagonally to form a triangle. Then fold back, creating a smaller triangle. Next, in order to divide the triangle into three equal sections, use a protractor (or pencil) to divide the angle at the corner opposite the longer side of the triangle into three sections that have a 30 degree angle each. Next, fold the left and right sections towards the front so as to form a cone. Then cut the bottom (horizontal section) to form a wedge. Keeping it folded, cut out abstract patterns with a pair of scissors and when done, carefully unfold. Repeat until you get to the number of snowflakes you want. Finally, pass a coarse thread through the snowflakes and decorate the corners of your house or your tree.
4. Christmas cards

There is nothing more beautiful than having your kids make Christmas cards to give to family and friends! All you need is cardboard paper in an assortment of colours that you can decorate with glitter, felt, stars, cotton wool, etc. You will also need scissors, pencil and a good glue. Cut the paper into squares and fold to form a card. Next, pencil in the images you want to decorate the card with, be it a Christmas tree, snowflakes, Santa Claus, etc. Next, cut your felt into the desired shape and apply to the paper with glue. Decorate the card (and images) with your stars, the glitter, and so forth. All that remains is a beautiful message inside!
5. Cardboard Christmas tree
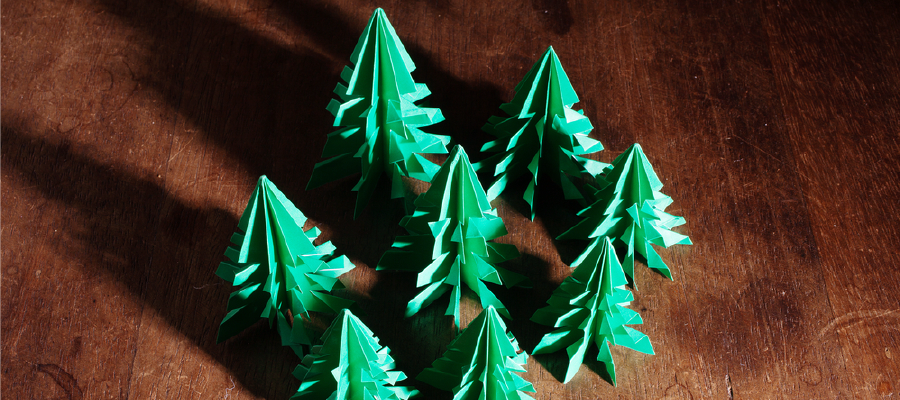
You will need some thick, green paper, crayons, pens, glue, scissors and sticky tape.
Fold the paper in half and then cut it in half. Place one piece over the other and the fold in half. Paint half the Christmas tree opposite the fold. Cut along the line and you should have two identical trees. Then fold the trees in half, and use a pencil to mark the center. Cut a slit into the one tree, at the bottom half of its center. Do the same with the other tree but starting at the top. Attach one tree into another using the slits. Tape the bottom and top of the tree together using your sticky tape. Your tree is ready! Decorate it with crayons, a star, etc.
6. DIY rings for towels at the festive table.
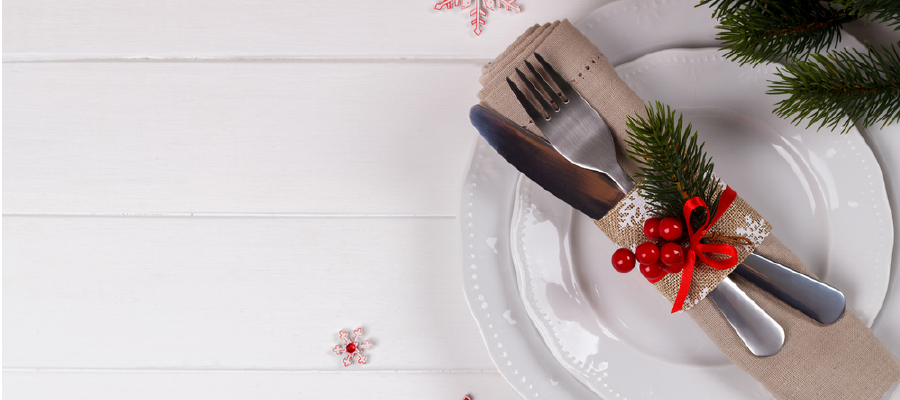
An original idea that’s pretty easy to make. Get enough thick cardboard (that can be rolled) and ornaments (small Santa Claus’, stars, mistletoe, beads, glitter, stars).
Cut the cardboard into strips of about 5 cm long and 3 cm. in width. Paint the inside and outside of the cardboard. Allow to dry, roll into a ring shape and then decorate.


.jpg)


